Managing Participant Roles
Roles are a powerful feature in the HyperStudy platform that allow you to create different experiences for different participants within the same experiment. This guide explains how to define, configure, and manage roles effectively.
What are Roles?
Roles are participant categories that determine:
- What components and content each participant sees
- What permissions and capabilities they have
- What data is collected from them
- How they interact with other participants
Common role examples include:
- Host: Controls media playback for all participants
- Observer: Watches but doesn't actively participate
- Interviewer: Asks questions to other participants
- Subject: Responds to stimuli and questions
- Confederate: A researcher posing as a participant
Creating and Configuring Roles
Defining Basic Roles
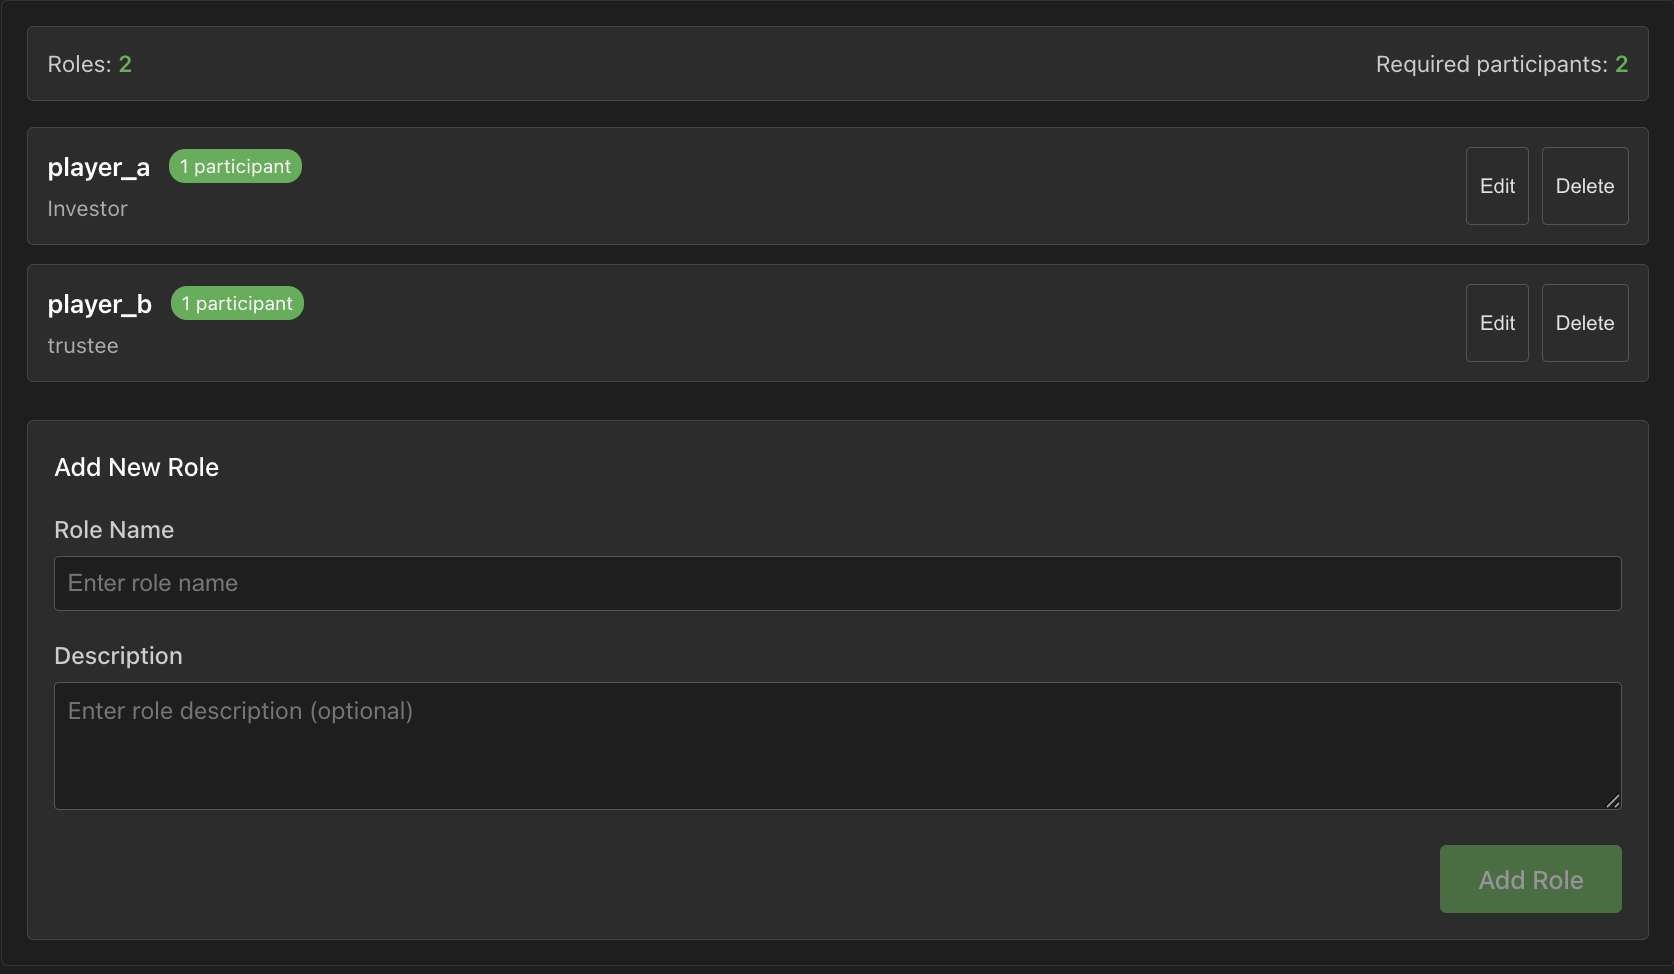
To create roles for your experiment:
- In the Experiment Designer, go to the "Roles" tab
- Click "Add Role" to create a new role
- Enter a name for the role (e.g., "Interviewer")
- Set the maximum number of participants for this role
- Configure basic permissions for the role
- Click "Save" to create the role
Role Properties
Each role has several configurable properties:
- Name: Identifying label for the role
- Description: Purpose and responsibilities of the role
- Maximum Participants: How many participants can have this role
- Minimum Participants: Required participants with this role (for experiment to start)
- Permissions: What actions the role can perform
- Component Visibility: Which components this role can see
Role Permissions
You can grant different permissions to each role:
- Media Control: Allow controlling video/audio playback
- Chat Permissions: Allow sending text messages
- Recording Control: Allow starting/stopping recordings
- Screen Sharing: Allow sharing screen with others
- Layout Control: Allow changing the UI layout
- State Advancement: Allow manually advancing experiment states
Configure these in the role's permission settings.
Role-Based Component Visibility
Configuring Global Component Visibility
To control which global components are visible to which roles:
- Go to the "Global Components" tab
- Select a component (e.g., Video Chat)
- In the properties panel, find "Role Visibility"
- Check or uncheck roles to control visibility
State-Specific Role Visibility
You can also configure role visibility for each state:
- Select a state in the States panel
- In the properties, find "Role Visibility"
- Configure which roles can see this state
- For roles that can't see it, configure an alternative state
This allows for role-specific experiment paths.
Role-Specific Content
Creating Content Variations
You can show different content to different roles:
- Use role-based visibility settings
- Create parallel states for different roles
- Use conditional logic based on participant role
For example, to show different instructions:
if (participantRole === "interviewer") {
  instructions = "Ask the questions on your screen.";
} else if (participantRole === "subject") {
  instructions = "Answer the questions honestly.";
}
Role-Specific Components
Some components can be configured differently for each role:
- Select a component in a state
- In the properties, look for "Role-Specific Settings"
- Configure each property differently for each role
For example, you can show different questions or options to different roles.
Role Interaction Patterns
Interviewer-Interviewee
A common interaction pattern:
- Create "Interviewer" and "Interviewee" roles
- Give the Interviewer access to questions and prompts
- Configure the Interviewee to see only necessary information
- Use the Video Chat global component for interaction
- Set up data collection for the Interviewee's responses
Observer-Participant
For observation studies:
- Create "Observer" and "Participant" roles
- Give Participants the main experimental task
- Configure Observers to see both the task and the Participants
- Restrict Observers from communicating with Participants
- Collect observation data from Observers
Collaborative Tasks
For group activities:
- Create roles for different team positions
- Provide role-specific information and tools
- Configure shared views for collaborative elements
- Set up communication channels between roles
- Track group and individual performance metrics
Role Assignment
Manual Assignment
To manually assign participants to roles:
- Go to the "Participants" tab in the experiment management
- Find the participant in the list
- Open the role selector dropdown
- Choose the appropriate role
- Save the assignment
Automatic Assignment
For automatic assignment during recruitment:
- Configure the experiment's recruitment settings
- Set up the desired number of participants per role
- Define assignment rules (first-come, first-served, random, etc.)
- Set a balanced ratio between roles if needed
Self-Selection
Allow participants to choose their own roles:
- Create a role selection state at the beginning of the experiment
- Configure a role selection component
- Set restrictions on available roles
- Handle cases where preferred roles are already filled
Advanced Role Features
Role Variables
Create role-specific variables:
// Define variables specific to a role
interviewerQuestions = [...];
subjectResponses = [...];

// Access role-based data
if (participantRole === "interviewer") {
  currentQuestion = interviewerQuestions[questionIndex];
}
This helps organize your experiment variables.
Dynamic Role Changes
In some experiments, roles may change:
- Set up a state for role transitions
- Use variables to track the current role
- Update permissions and visibility based on the new role
- Notify participants of their role change
For example, switching interviewer and interviewee halfway through.
Role Dependencies
Configure role dependencies:
- Define which roles must be filled for the experiment to start
- Set up waiting states for incomplete role sets
- Handle scenarios when participants with specific roles disconnect
- Configure experiment continuation rules when roles are under-filled
Role-Based Data Collection and Analysis
Collecting Role-Specific Data
Configure data collection based on roles:
- Define what data to collect from each role
- Set up appropriate variables for each role
- Use role-specific components for data collection
- Configure export format for role-based data
Analyzing Role-Based Data
When analyzing results:
- Filter data by participant role
- Compare responses between complementary roles
- Analyze interaction patterns between roles
- Look for role-specific trends and behaviors
The role information is included in the exported data.
Best Practices
- Clear Role Definitions: Define roles with clear purposes and responsibilities
- Minimal Necessary Roles: Only create roles that serve a distinct function
- Role Parity: Ensure enough participants for each required role
- Test All Roles: Preview your experiment from each role's perspective
- Fallback Plans: Have contingencies for when roles can't be filled
- Documentation: Clearly document what each role does and sees
- Role Instructions: Provide clear instructions specific to each role
Next Steps
Now that you understand roles, explore these related topics: